I decided that terrain for my Ten Years War in Cuba project needed a few more buildings and thought that I would add a plantation owner's house and the different parts of a sugar mill. But I decided to begin with a small Spanish colonial church. After a quick search on the internet I sketched out the sort of thing I had in mind before drawing up a more detailed plan:


If you are not familiar with joining foamboard components together here is a useful technique. Draw a line down one on the edges that are to be joined, make it the same thickness as the foamboard itself. Carefully cut through the paper backing along your line and then scrape out the foam filling leaving the other side of the paper untouched as you can see in this photograph:

In this example the gable end can now be glued into place leaving a nice neat joint when viewed from the outside. I tend to use balsa cement as it sets quite quickly and I then reinforce the joints with triangular fillets made from whatever scrap pieces are lying around:

Here you can clearly see the second gable end cemented into place on the back of the church façade ready to support the roof:

All four walls in place and each corner strengthened with a couple of triangular fillets as mentioned earlier:

The curve on the front wall had quite a rough finish which I thought would spoil the look of the finished model:
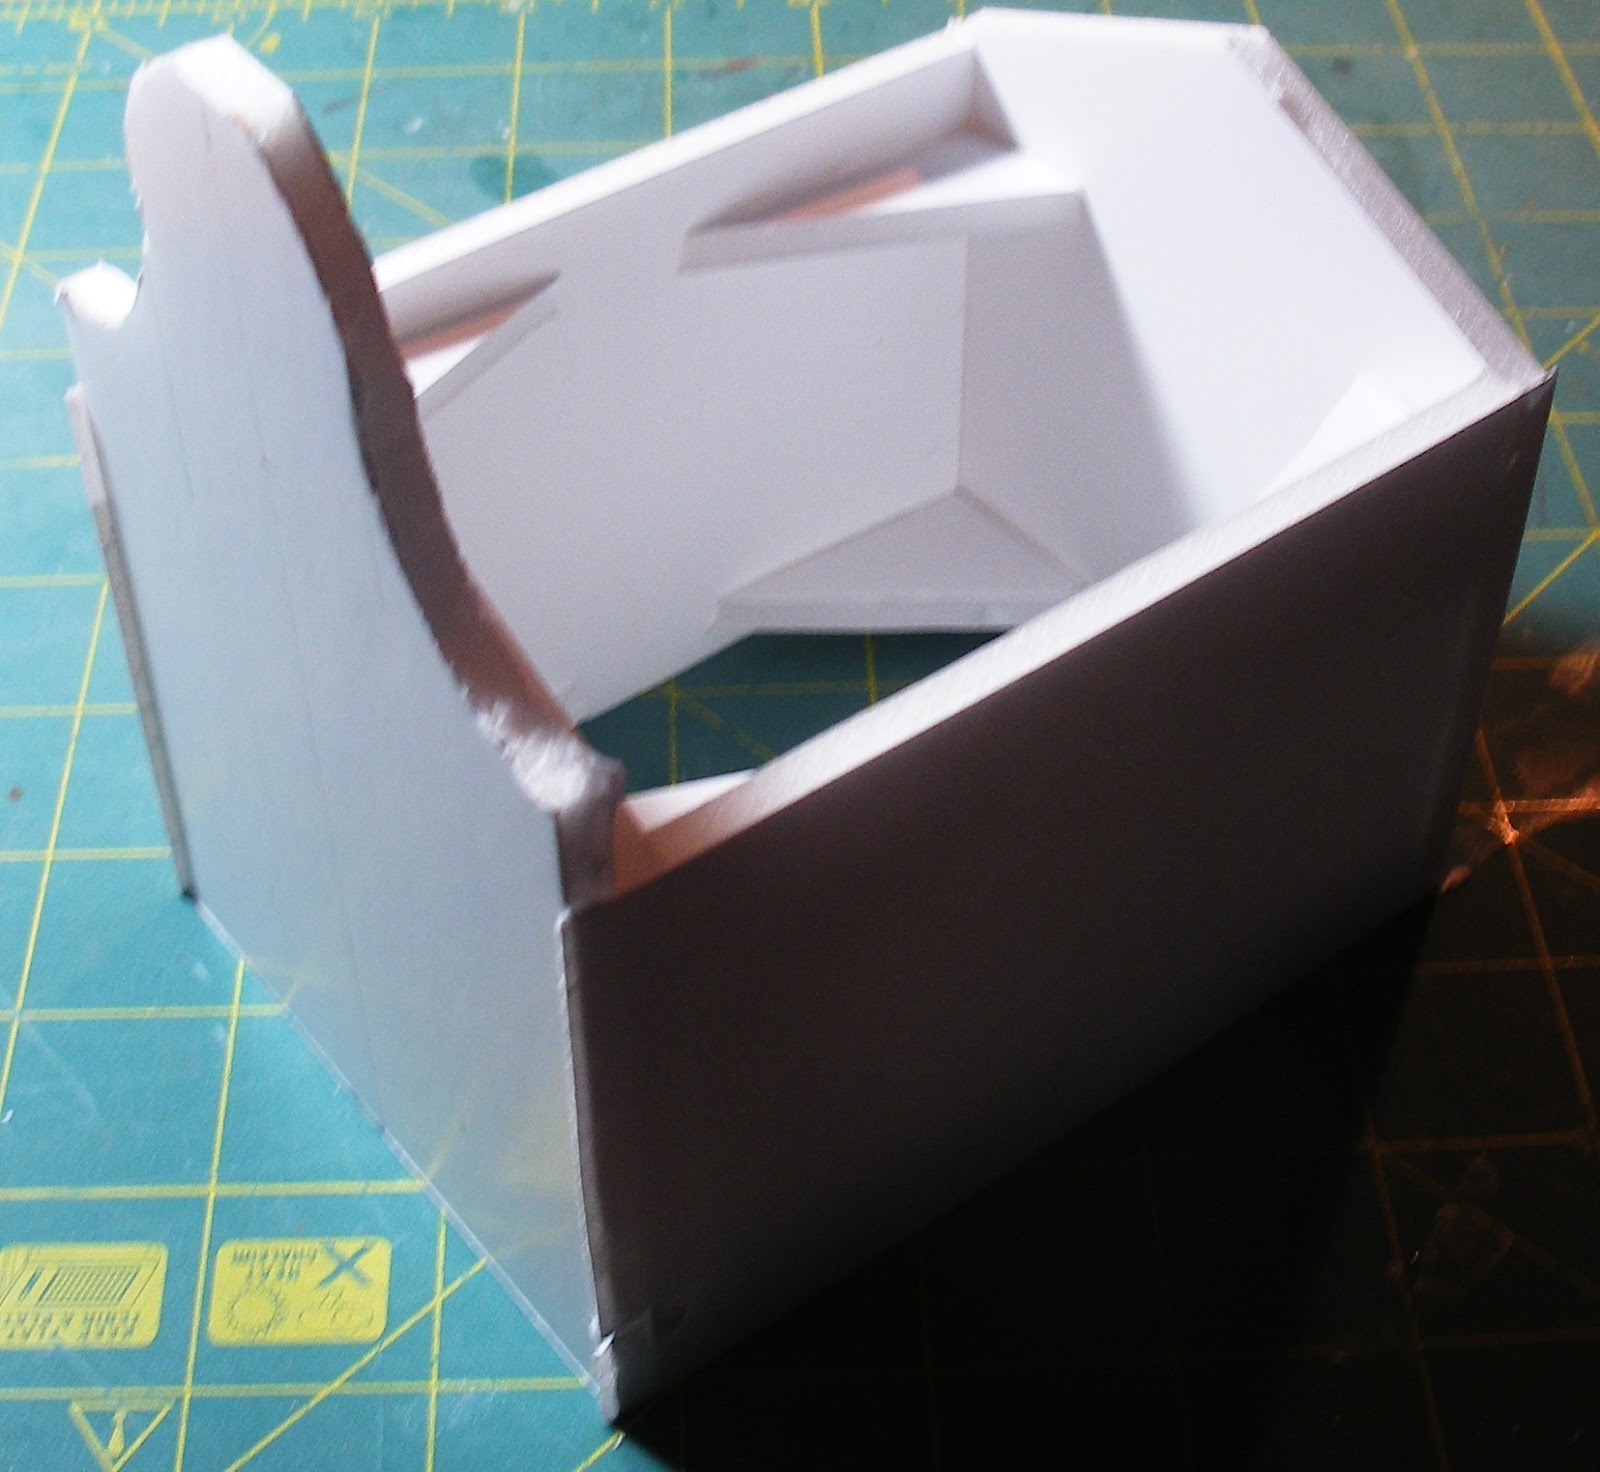
To disguise the rough cut I faced the edge with a strip of tough cartridge paper and topped that off with a second strip to add a little texture, then I fixed the roof in place and mounted the whole model on a base to which I could add steps where the front door was to be placed:

I used tile textured plastic card from Wills railway modelling accessories for the roof and made a ridge tile from a bamboo skewer:

The door frame and a small recess were added along with corner stones, all made from thin plastic card or cartridge paper:

Various other courses of stonework were added in a similar way just to improve the look of the whole thing and add interest:


In exactly the same way I added window frames and ledges to both sides of the building:


I added a single large window on the back wall and noticed that the joint between the roof and the front wall was quite scruffy. To rectify this I ran glue along the joint and then put strips of thin plastic rod in place to a give a neater finish - you can see these dark coloured strips in the photograph:

The next step was to spray paint the whole thing. I used a white primer since I intended that the building would be mainly white when it was finished, and I gave it several coats so that the different textures of all the materials I had used would blend together:

Finishing touches included painting the roof, doors and windows:

I added a cross which was just a suitably shaped section from the runner in a plastic kit, glued into place and painted.

Originally I had planned to place a statue in the recess above the door but I couldn't find anything suitable. As an alternative I found a picture of an icon on the internet, reduced it in size and glued it in place where it passes quite well as a mosaic:

Final touches were the use of different washes to give a weathered effect and detailing on the door.

The windows were simply filled in with black paint, I had wanted a stained glass effect in the large window at the back but so far I have not been able to find anything suitable.

Finally I placed the finished model in its setting, a small settlement on the edge of my sugar plantation with the Cuban jungle in the background.

Overall I am fairly pleased with the result and it made such a nice change from painting figures!

No comments:
Post a Comment